“Dime Store Dollies” A tutorial on vinyl/plastic art dolls (all information and images are copy right Noelle Hunt 2008 please request permission to use see copyright notice)
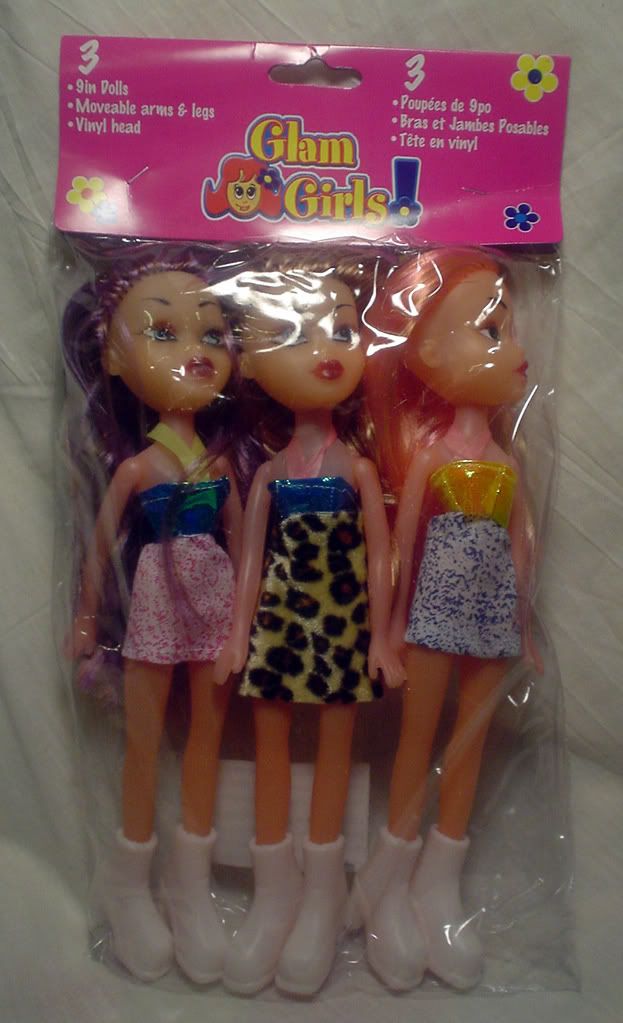
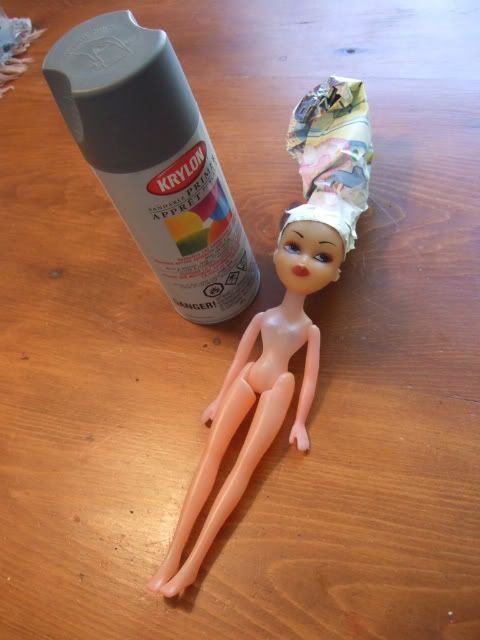
Making altered dolls out of those awful plastic Barbie or Bratz knock offs. Actually you can use this same method for covering any plastic or vinyl doll or toy. The secret is in the PLASTIC PRIMER. Things you need: DOLL: I use knock off dolls because they are cheap & ugly and I think making something mass produced into a unique piece of art work is an appealing idea. However any vinyl/plastic toy or figure will work. PLASTIC PRIMER: The primer I use is Kryolyn. They make spray paint for plastic. Usually you can find it in a good hardware store. Ask for the primer you would use on patio furniture. I'm sure most of them should work this is just the one I found and stuck with. One spray can will do a large number of Barbie sized dolls. MASKING TAPE & NEWSPAPER: you'll need these to mask off hair or anything you want to keep original. You can cut masking tape around eye-paint if you especially like the manufactured look. News paper is also just a cheap way to cover up the areas you'll spray in. GESSO: (optional) If you want an extra layer of protection for paint your doll you'll need this AFTER you have primed the plastic. It will adhere really well and give a nice surface for painting. EXACTO KNIFE (or other utility knife): If you're using a knock off doll you'll need this to trim the seams on the doll. Usually they are pretty rough. This just allows you to clean them up quickly and simply. PENCILS: so you can mark out your designs. ACRYLIC PAINT: I suppose you could use oil, but these dry faster and allow you to handle the doll more easily. MATERIAL & TRIM: for costuming and decoration. FIMO (or any polymer clay): to create any new features i.e. horns, tails, noses. (optional) SANDING SPONGES: for fine detail sanding (optional) A WELL VENTILATED WORK AREA!!!! IMPORTANT. OK so you have all you supplies rand your ready to go! Where do you start? ~Getting ready ~ Look at your doll. Is everything OK? Does she need to be trimmed anywhere? Are there changes in the actual structure you want to make? Any structural changes should be done now before the primer is applied.
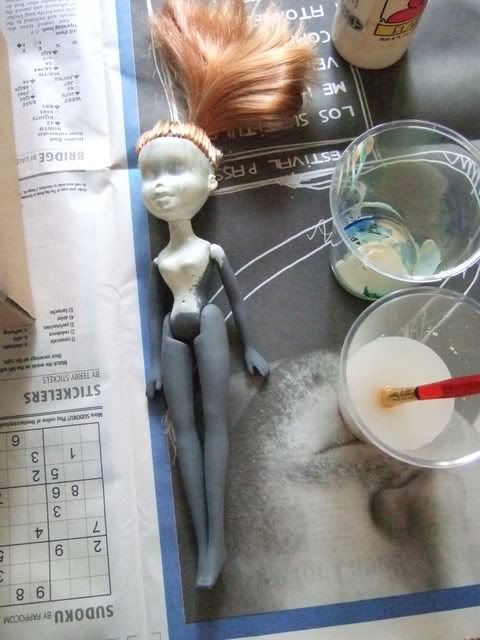
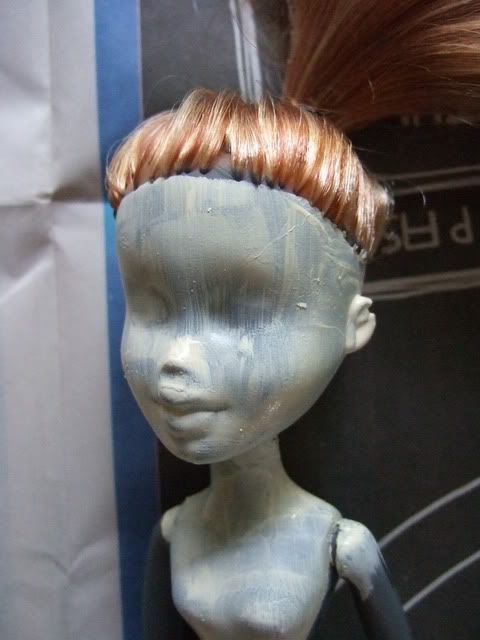
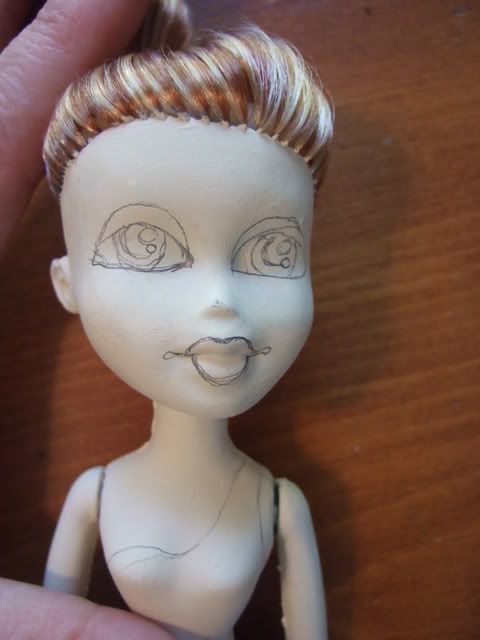
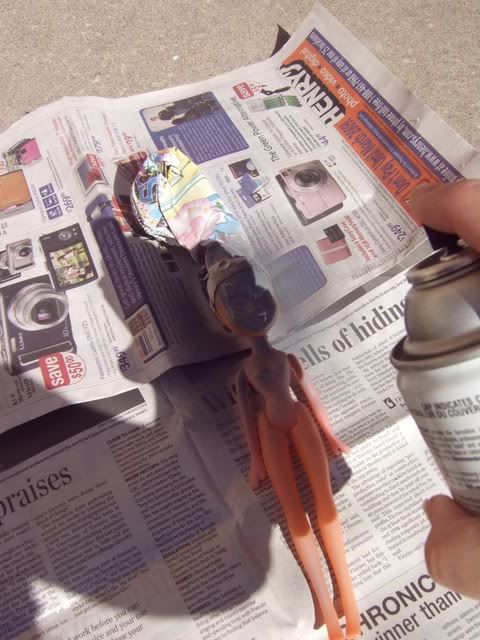
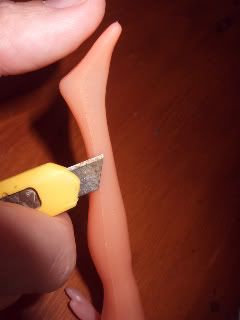 Got it all trimmed & ready to go? OK on to the masking. I personally want to completely change the face paint, but don't usually want the hassle of re-rooting the dolls hair. I carefully tape around the hair line, getting as close to the hair line without leaving too much of the actual hair exposed. The cheaper dolls have wonky hair lines so sometimes your going to have issues where a bit of the hair gets sprayed too. I try and make sure that happens at the back of the head, so that it gets covered by the hair. Mask off any other areas you don't want painted, like the eyes or lips. You can place the try using tracing paper to make the shape you wan to keep, then transfer it to you masking tape and cut it out. Do you need to cut her in half to attach her to another vinyl toy? Attaching dolls to another doll can be done with super glue of any kind. I don't suggest fimo & baking because of melting problems & toxicity. Bondo (look in the automotive section) can be used to make nice smooth seams, or look in your plastic model building section for Testor's Putty, which is used for cleaning up the seams in models. You will need to sand & prime each seam. This is the time to do all that stuff. Now it's time to move to your WELL VENTELATED AREA. I'm stressing this because the primer is TOXIC!! You really don't want to be breathing this stuff in. ~Priming your toy~ Cover up! Cover up your area with the newspaper; make sure your clothing is covered. If you're worried about your hands use rubber gloves. It's sticky stuff that's why it works. Chances are your hands and clothing will be fine, but forewarned is forearmed! You want to make sure your day is nice and warm and NOT too HUMID. You can still do it in humidity, but it takes a lot longer to dry. Place the doll on the paper. Sometimes I bend the doll so she is standing on her feet and hands. This way you can get into all the angles. Follow the directions on the can for spraying distance and waiting times. You will have to spray more than once. Keep your layers light, so that you don't get too many drips. After a layer is dry turn your doll so that you can check which areas need to be sprayed. Make sure your layer is dry! Or you'll end up with fingerprints. Once your doll is dry you can use a very fine grit sanding sponge. (These are usually use in wood work, or in auto finishing) to sand any imperfections. I personally think the imperfections help make the doll an original, but if perfection is your thing, then now is the time to get rid of any drips, or splatters that bother you.
 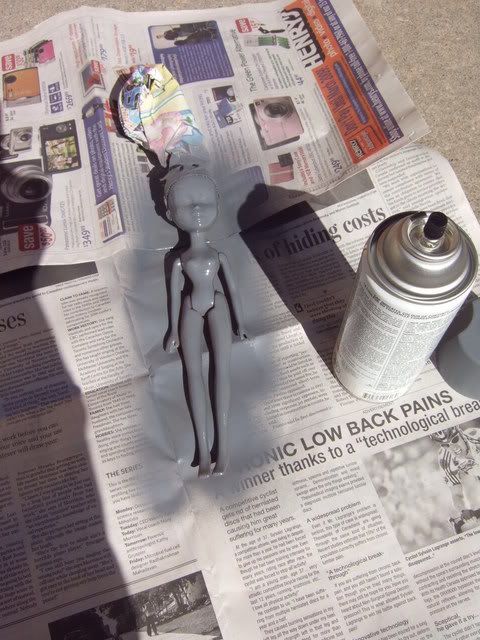
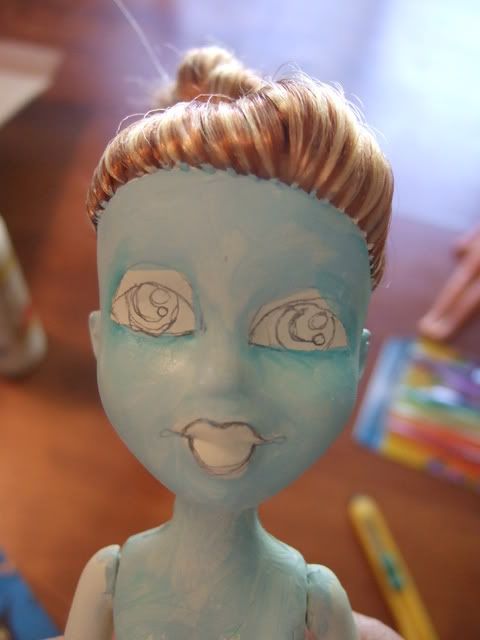
~ The base coat~ The primer I use is grey in colour, and fairly dark grey at that, so I tend to lay down a base coat in a lighter colour, although if you find a lighter primer you could skip this step. So… why can't I just use the acrylic base coat and skip priming all together? Obviously you could do this, however the paint will start to peel off vinyl after a while. So take the extra time to prime you piece and avoid all the pain later on.
~ We're on the road to completion! ~ Once I have my base coat in I rough out the features I want in pencil. Water colour pencil will also work if you want to get an idea about colours etc.
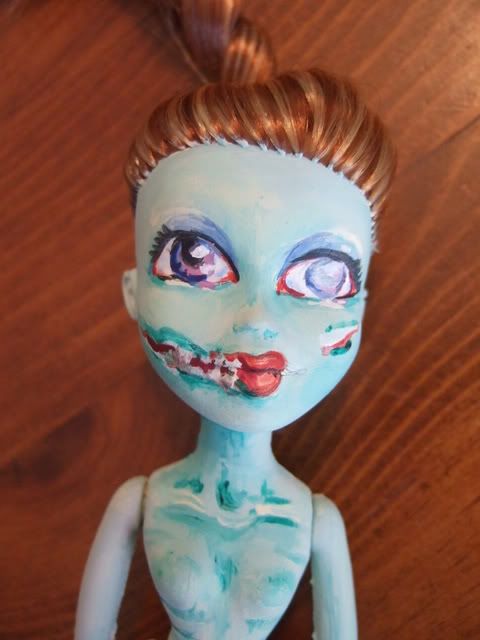
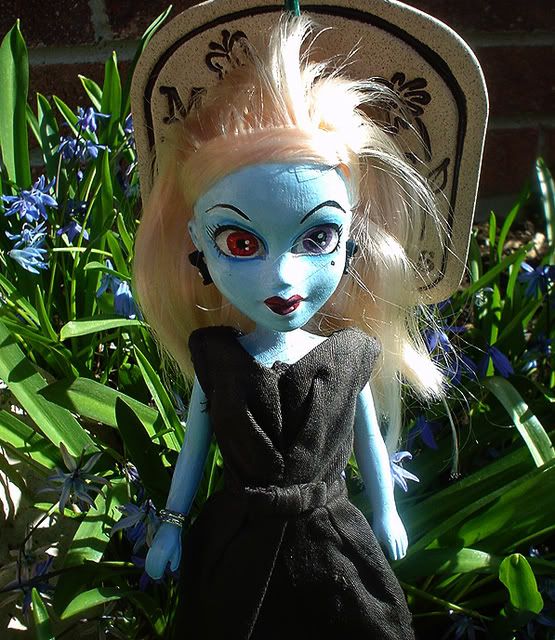
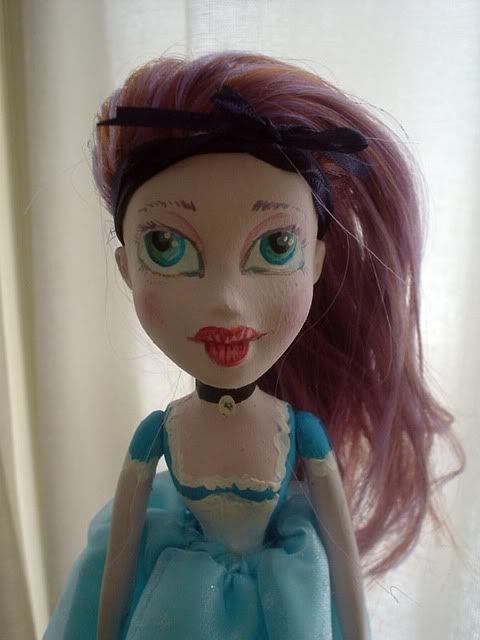
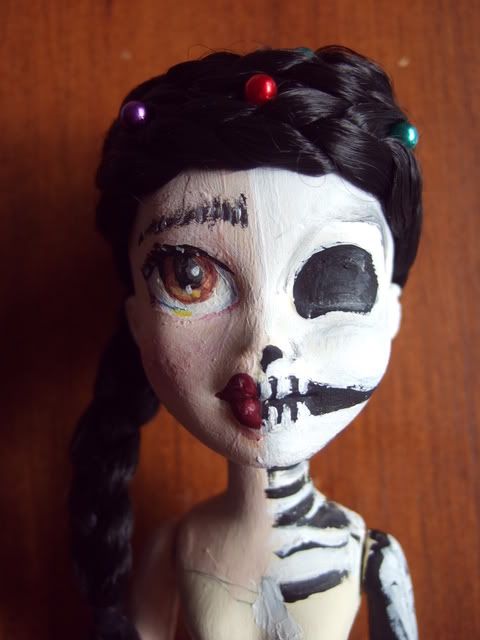
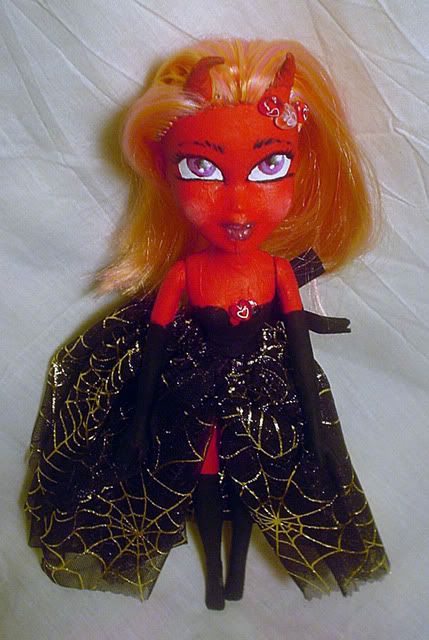
Now you're well on your way! Paint your piece however you want.:D If you're adding extra fimo pieces you need to bake them separately and then glue (I use super glue) them onto the piece. DO NOT BAKE these dolls they will A) melt and B) be extremely toxic.
This is where you get creative; you can add any kind of accessories you want. Go out on a limb and make you altered art doll something fantastic!
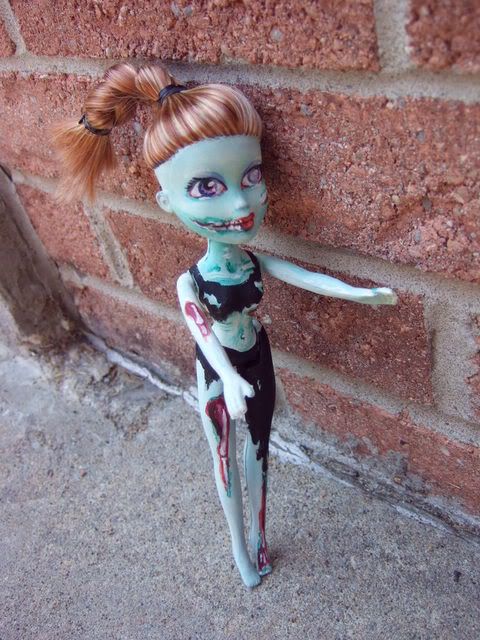
Once you have all the painted, glued details done, you should give it a layer of sealer. If you're using a spray sealer make sure to cover up any hair or fabric details. Add in your costuming, and accessories and you're done! Thanks for joining me on this journey, and have fun with your new art doll projects! *Please remember that these are NOT to be sold as TOYS for children. They will not hold up to a great deal of handling. They should not be put in anyone's mouth. They are art, and are really intended for display |